| www.beadsbaublesandjewels.com BBJ – the source for jewelry making, beading, and metal work: instructions, education and projects from leading jewelry designers, and instructors. The online home of the public television program. |
| 1804-2 | Print | Close [X] |
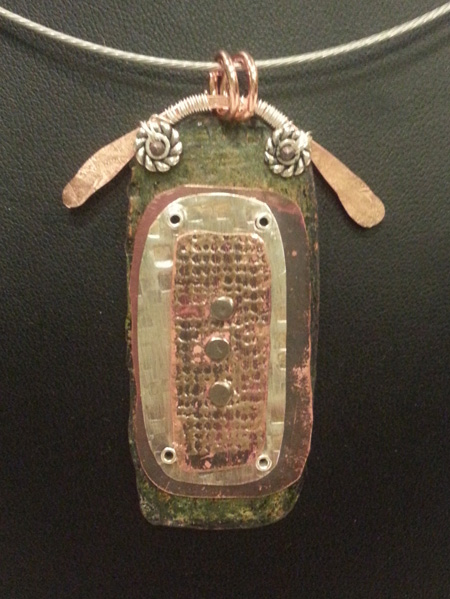
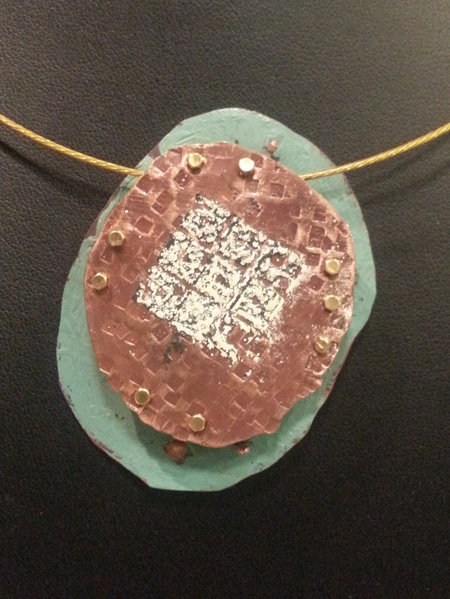
| Mary Hettmansperger has a metal work project featuring embossing on metal. |
For more information about Mary Hettmansperger visit:
|
Embossing is not for just scrapbooking any more. By using embossing that is traditionally used in paper arts, Mary shows how this technique can be incorporated into low-tech metal jewelry. Materials: Optional cold connections: Tools: Step #1 – Cut shape out of 24 gauge copper to use embossing on – Design a flat or layered piece to use for the embossing technique. Step #2 - Heat the piece of copper to anneal it - (make it soft and pliable). Then quench the shape in the bucket of water to cool. You can also use flux and a rubber stamp to create pattern on the metal by putting a thin layer of flux on the rubber stamp using a paintbrush. Then heat the metal to a glowing color and quench very fast in water. Step #3 – Once the copper sheet is annealed, – hammer the edges of the metal to create an organic edge, then and use steel wool to make the side smooth and burr-free. Step #4 – Once the piece is textured and heated, then you can begin the embossing process. The dirtier and more beat up the metal the better the embossing will adhere to the surface Lay the card stock paper flat on a work surface. Take a rubber stamp and place ink on the surface from the embossing inkpad. Press the rubber stamp on the metal to create a faint pattern from the ink. Sift or lightly coat the surface with embossing powder. Once the surface is covered, take the excess powder off by picking up the metal and shaking off the powder on the paper. Funnel the powder back into the container by folding the paper and letting it slide off paper. Step #5 – Take the old pair of pliers and holding the metal with the pliers heat the surface with the embossing gun to heat the powder onto the surface. Step #6 – If you are very careful you can take the torch out doors or where there is an exhaust fan, and you can also just barely heat the metal with the torch to create a very rustic and distressed look. To create this look, make sure you hold the metal with the pliers and heat the meal on the back side by drawing it just above the flame VERY fast. If you heat it too much it will completely burn it all off. Step #7 – You can use the embossed pieces in most of your jewelry. I do not think it is sturdy enough for bracelets, but is totally durable for necklaces, broaches and earrings. For more information about Mary Hettmansperger visit:
|
Mary Hettmansperger & Katie Hacker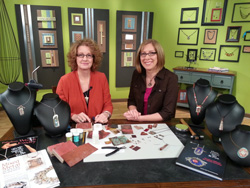 |