| www.beadsbaublesandjewels.com BBJ – the source for jewelry making, beading, and metal work: instructions, education and projects from leading jewelry designers, and instructors. The online home of the public television program. |
| 1809-1 | Print | Close [X] |
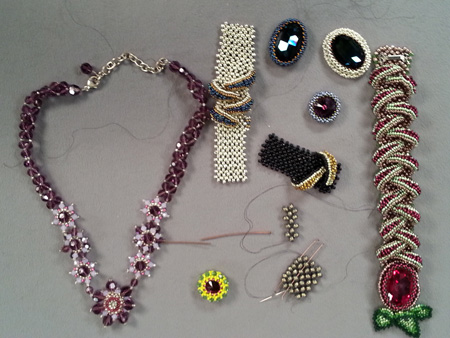
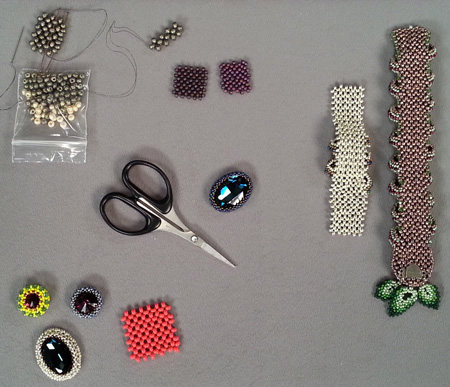
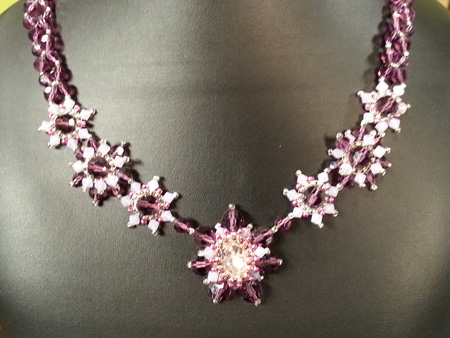
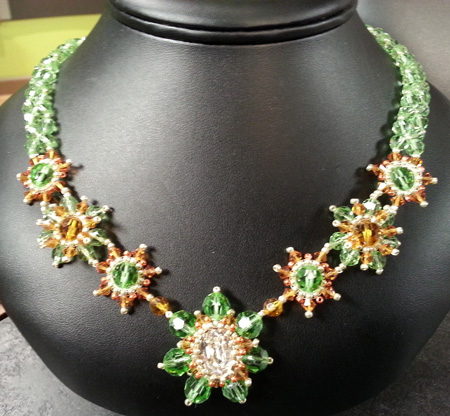
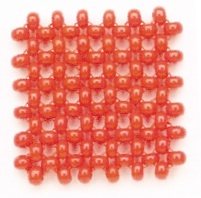
| Jean Campbell shows several tips and techniques for right angle weave. |
For More Information Visit: |
First off, let me say how pleased I am to be writing to you from the ether again, this time on Beadwork's very own page! Editor Melinda Barta has let me loose as my "Stitch Pro" alter-ego, my column in Beadwork magazine. It's here that I'll share even more tips and techniques that will help your needles fly faster and your brain work like greased lightning.
- If you are a new right-angle weaver, use single thread for each row, then tightly re-weave each row after you complete it. This way, if you make a mistake on the first pass, you can see it and pull it out easily. If you haven't made a mistake, you can tighten it up and move on. -If right-angle weave is old hat for you, definitely use doubled thread and tight tension to keep your beads at right angles. -Press a beading awl or pencil point through the center of each unit to pop the beads into place. -Place a needle through the bottom beads of all of the units of a row so you can see which are all the top beads in a subsequent row. Do you have other tips for taming right-angle weave that you could share with your fellow beaders? Do it right here on Beading Daily's spanking new Inside Beadwork Magazine blog. Happy beading- Jean Campbell Senior editor, Beadwork magazine
|
Jean Campbell & Katie Hacker |