| www.beadsbaublesandjewels.com BBJ – the source for jewelry making, beading, and metal work: instructions, education and projects from leading jewelry designers, and instructors. The online home of the public television program. |
| 2003-1 | Print | Close [X] |
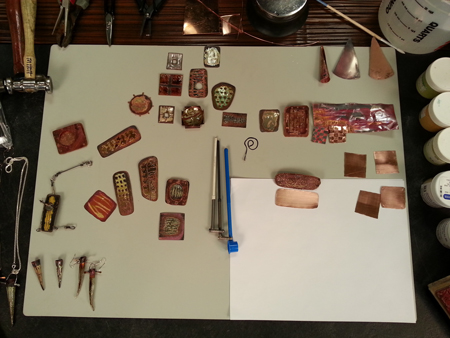
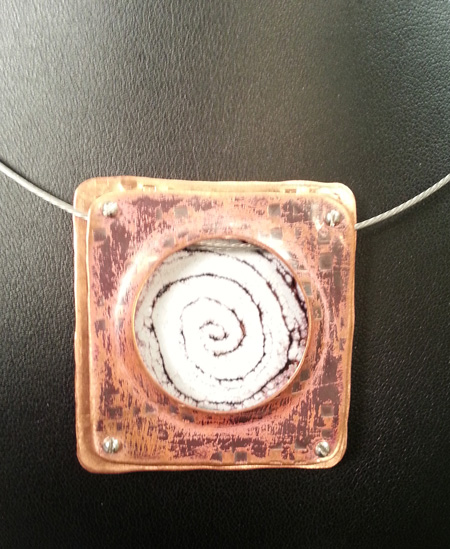
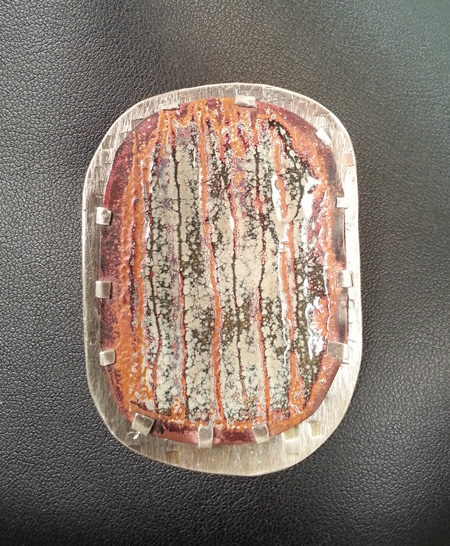
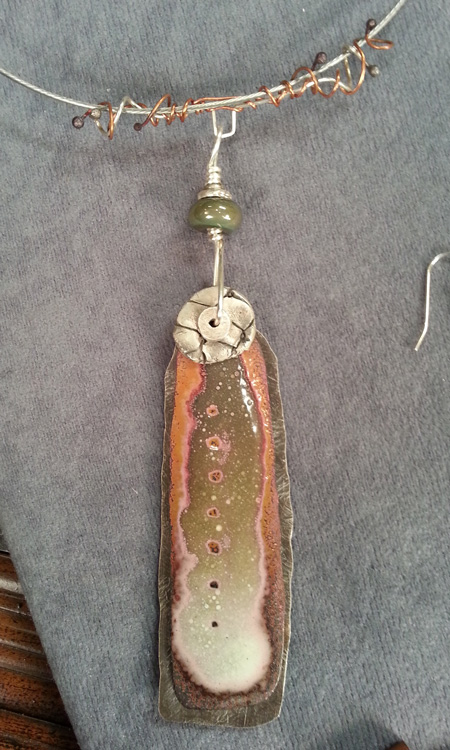
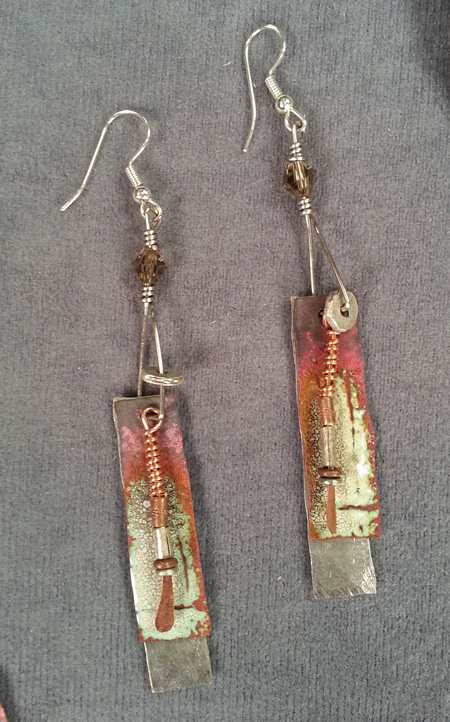
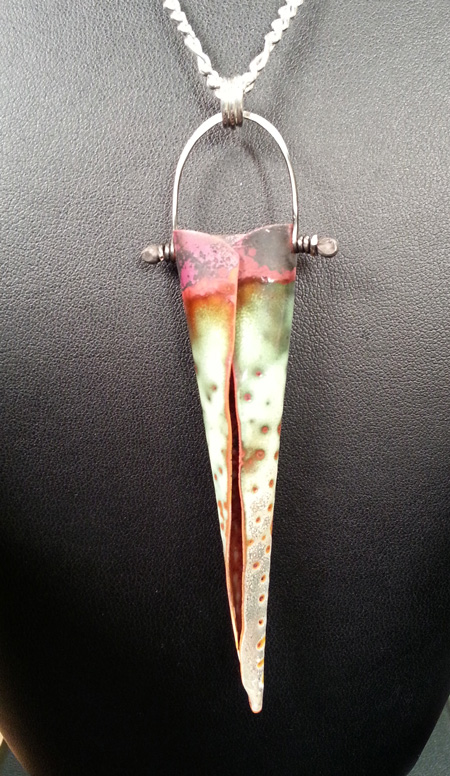
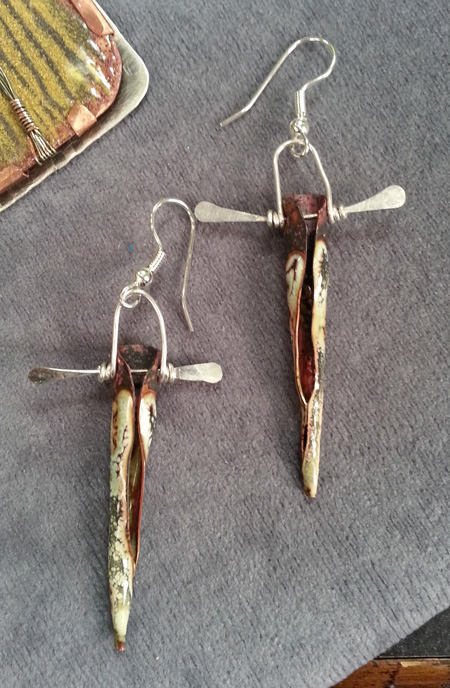
Mary Hettmansperger demonstrates torch-fired enameling and how to create three dimensional surfaces. |
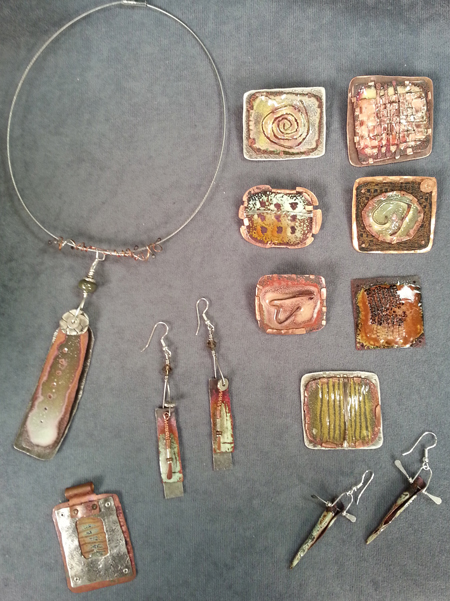
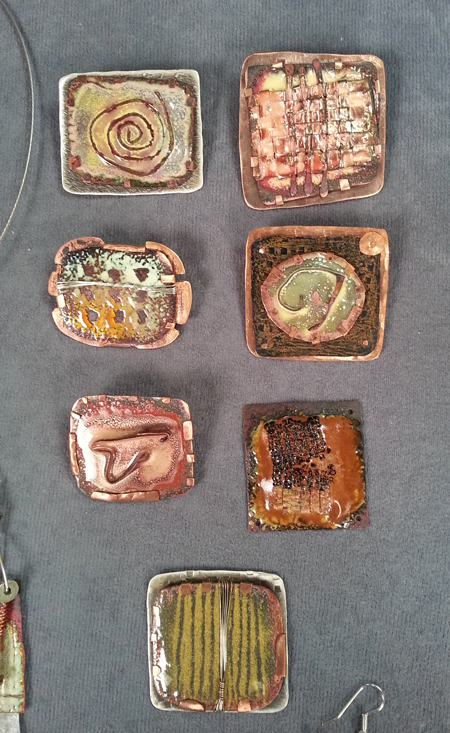
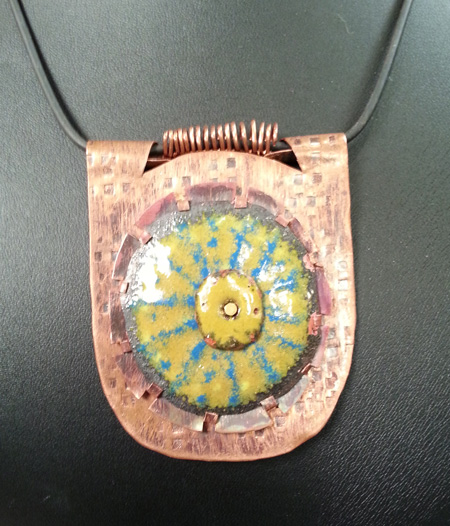
Enameled Broaches and Necklaces made with Low-tech - Metal work using cold connections and torch enameling.
Materials:
Instructions: Step #2 – Heat the shape – to anneal – using disc cutter cut circles out of the copper shape. Hammer and texture the circle shape. Step #3 – Cut shapes to enamel Drill or Punch 1/16 inch or 1.8 mm holes Step #4 – Sift enamel on the clean and dried copper and fire. Avoid the areas where the discs will be attached. Enamel options include: Step #5 – Assemble and design with enameled pieces. For more information visit www.maryhetts.com
|

Katie Hacker & Mary Hettmansperger |