Project 204-4
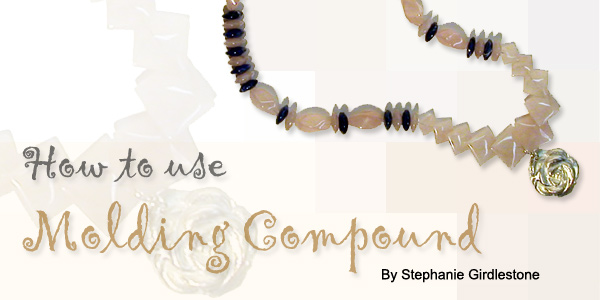
How to use Molding Compound
By Stephanie Girdlestone
Materials Needed
Molding compound F14-2244BS
Cat face cabochon F14-6043CB
Instructions
1. Take equal amounts of part A and B of the compound and mix together.
The “purple” color should completely mix with the “white”
color, to form a lighter purple – when there is no striation or
differentiation between the purple and white, you know the compound is
thoroughly mixed.
2. Roll the mixed compound into a ball and press into a pancake shape.
Thickness should be level and even and of the correct amount to cushion
the item you are molding.
3. Press the item to be molded firmly and evenly into the compound; keep
the item level. Allow the compound to cure. You can test to see if compound
is completely cured by pressing your fingernail into the edge; if it leaves
a mark it’s not cured. If no mark remains, compound is completely
cured.
4. Remove object. Your mold is complete. Molds can be used over as many
times as you’d like.
5. Press whatever molding medium you wish to use; Art Clay Silver, Kato
Polyclay, salt-yeast dough, etc. into the mold. Work according to the
material – allow Art Clay Silver to dry thoroughly before removing
from the mold, polymer clay can be removed immediately, etc.
6. When ready, remove your object and finish according to directions
for the material you used in the mold.
Suggested uses for molding compound: Vintage buttons you want to recreate,
fragile items that would break if used as an impression or mold, etc.