302-5
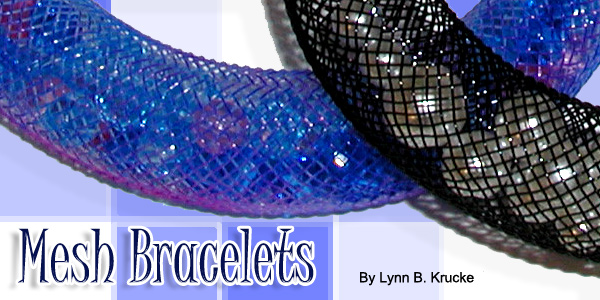
Mesh Bracelets
By: Lynn B. Krucke
In-Mesh – large size, white (On the Surface)
“Filling” for bracelet- plastic crystals, pony or e-beads, plastic pearls…
(for this project I used a mix of red, pink and fuchsia plastic crystals)
Plastic bead with large hole- white
Alcohol inks
Plastic gloves (optional)
Protected work surface
Felt
Strong double-sided craft tape (“red-liner” tape)
Hemostats- 2 pair
Scissors
Small wood block with Velcro attached
Instructions
The mesh is available in black and white, but it is quite easy to add
color. Make sure to use a permanent ink or paint that is suitable for
non-porous surfaces (e.g. plastic or glass). Other inks will never dry
on the plastic mesh! Note: Permanent inks will stain your hands and clothing;
protect your work surface and your clothes!
1. Cut a piece of In-Mesh about 1 inch larger than your wrist. Don’t
worry about adding ease to fit over your hand- the mesh stretches easily
and then returns to its original shape!
2. Clamp one end of the mesh with hemostats.
3. Cut a small piece of felt and attach it to the Velcro on the wooden
block. Squeeze a few drops of permanent ink onto the felt.
4. Using the hemostats to anchor the mesh, rub the felt across the length
of the mesh to transfer the color. Turn the mesh and repeat until the
surface is covered. Try using more than one color of ink!
5. Color the large white plastic bead with the ink. Allow mesh and bead
to dry completely. Remove mesh from hemostats and trim the uncolored end(s)
of the mesh.
6. Slide the bead onto one end of the mesh.
7. Fill the mesh with desired amount of beads. Be careful not to overfill,
as this will reduce the ability of the mesh to stretch.
8. Pinch the end of the mesh together and wrap it tightly with a small
piece of the strong double-stick tape.
9. Remove the red-liner on the tape. Insert this end into the other end
of the mesh and pinch the two ends together to seal. Move the bead over
the seam.
10. Allow tape to “cure” for at least 24 hours before wearing
to insure strongest bond.
| Project Images | |
 |
|
.