305-2
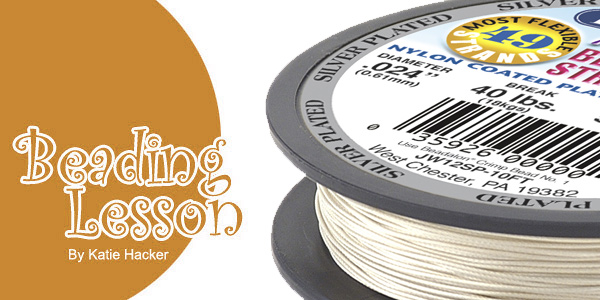
Beading Lesson
Silver Plated Beading Wire
By: Katie Hacker
Sponsor: Beadalon®
 This new
innovation combines the softest, most flexible beading wire with the beauty
of silver plating. It comes in 19 and 49-strand. It’s the perfect
complement for sterling findings, crystals and transparent gemstone or
glass beads. You can really see the difference between the ordinary gray
color and the brilliant new silver.
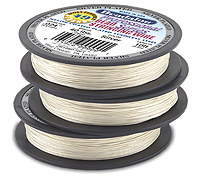
This new
innovation combines the softest, most flexible beading wire with the beauty
of silver plating. It comes in 19 and 49-strand. It’s the perfect
complement for sterling findings, crystals and transparent gemstone or
glass beads. You can really see the difference between the ordinary gray
color and the brilliant new silver.
Since the silver wire is so pretty, it’s a shame to cover it up! Here are some ways you can take advantage of the metallic look and incorporate some silver splendor into your designs:
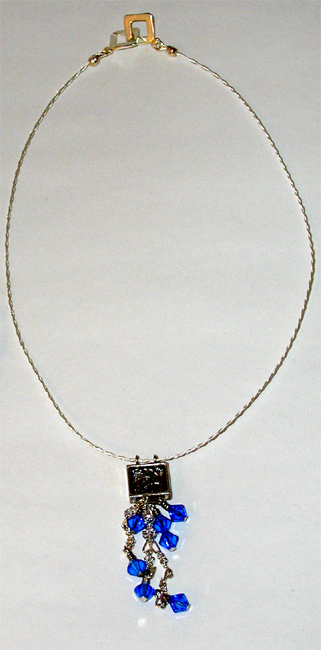
Use a thick diameter of wire as an easy necklace cord. String a pendant onto this wire, and then added EZ crimp ends for a quick and easy choker.
Twisting the wires together produces some really pretty results. You can glue the ends or crimp them to prevent them from untwisting.
You can also braid the silver wire. Attach a crimp clasp and crimp tubes to the side to keep the braid from unraveling.
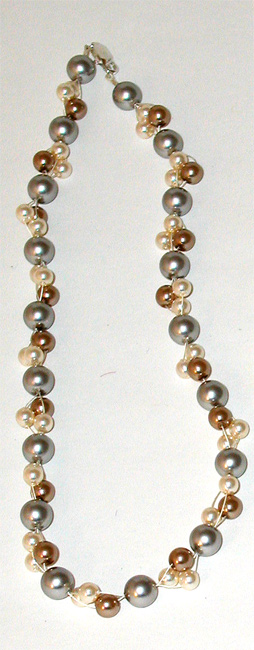
Woven designs are beautiful with the new silver wire. The silver wire really complements the light colored crystal pearls woven together in a dainty choker. To create this pattern, string a bead onto each strand, then hold all of the strands together and string a bead.
To create a bracelet, use a ladder stitch to create a lacy effect. To do ladder stitch, place the wire ends through opposite sides of the beads.
You can also use wire to create simple chandelier earrings. The exposed
wire perfectly complements clear crystals. To attach the wire ends to
an ear wire, use a crimp bead to form a loop.
| Project Images | |
|
|
.