405-2
Beading Lesson
Organizing Your Worktable
By: Katie Hacker
Sponsored by:
Beadalon®
 A
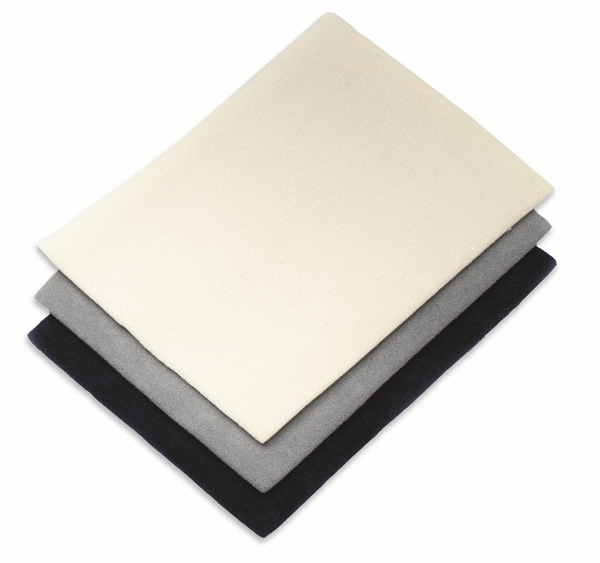
bead mat is an indispensable little piece of fabric that
creates an instant work surface and prevents beads from rolling away while
you're beading. Plus, when you pour seed beads onto the mat, the holes
automatically turn upward, which makes for easy stringing. Use light beads
on a dark mat and dark beads on a light mat.
A
bead mat is an indispensable little piece of fabric that
creates an instant work surface and prevents beads from rolling away while
you're beading. Plus, when you pour seed beads onto the mat, the holes
automatically turn upward, which makes for easy stringing. Use light beads
on a dark mat and dark beads on a light mat.
 A
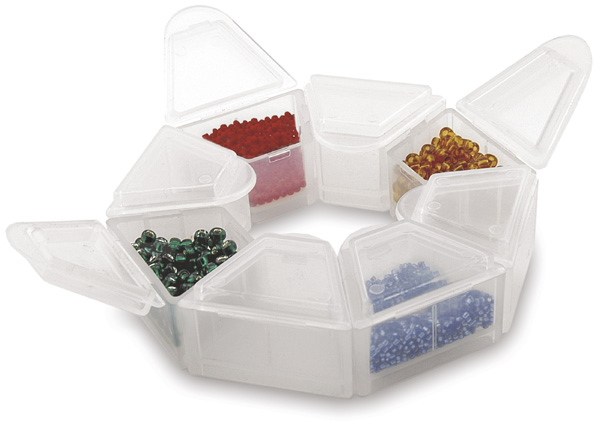
storage ring is a space-saving way to store beads and
findings. The compartments come apart so you can take them with you. The
lids lock in place to prevent tiny beads and findings from escaping and
help prevent tarnish. You can even stack several rings and stash your
tools in the center.
A
storage ring is a space-saving way to store beads and
findings. The compartments come apart so you can take them with you. The
lids lock in place to prevent tiny beads and findings from escaping and
help prevent tarnish. You can even stack several rings and stash your
tools in the center.
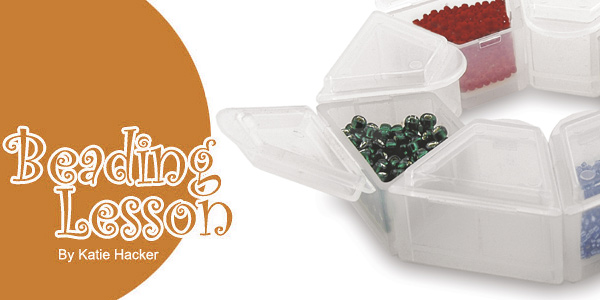
Travel organizers are a clever way to keep all of your small beads and findings in one place. Each box keeps all of those tiny parts safe and secure and all of the boxes fit inside the carrying case. You can sort beads by color, size and shape and keep them organized. The little boxes make it easy to keep current projects under control on your worktable. It’s also perfect for taking your beads on the go!
 Use
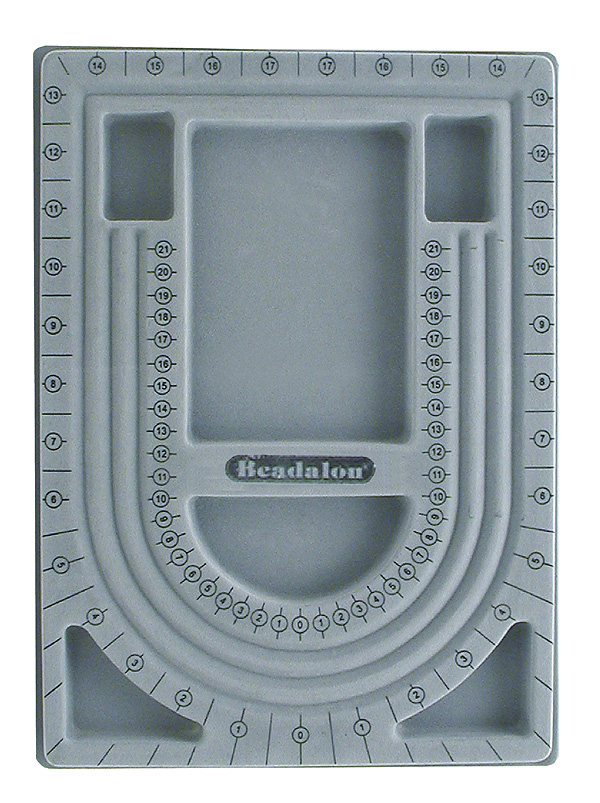
a bead board to help you determine the length of a design
as you’re beading. A bead board also lets you see what a design
will look like before you string it. That way you don't have to re-string
the entire design if you find out that you don't have enough beads to
complete the pattern you have in mind. It’s also a great way to
prevent beads from rolling away while you work.
Use
a bead board to help you determine the length of a design
as you’re beading. A bead board also lets you see what a design
will look like before you string it. That way you don't have to re-string
the entire design if you find out that you don't have enough beads to
complete the pattern you have in mind. It’s also a great way to
prevent beads from rolling away while you work.
Bead boards come in different sizes. A small board is especially useful when you don’t have much room on your worktable. Larger boards are good for longer designs like opera-length necklaces or belts.
When beginning a jewelry design, lay the beads in the channels to give you an idea of what the design will look like once it's strung. Arrange the beads in the outer channel until you are happy with the pattern. Start in the center of the necklace and work your way to the ends.
Use the measurements on bead board to determine how the long a design will be or to make sure beaded sections are evenly spaced. The numbers along the outside channel are in inches and the numbers along the inside channel are in centimeters. A pattern that reaches 7 1/2 on both sides in the outer channel would make a 15" necklace. Once you add a 1” clasp, the necklace will be 16” long, which is standard length for a choker.
To make a graduated multiple strand design, lay beads in all three channels. Remember that the outermost strand will be the longest, so plan accordingly when designing the piece. The longest strand on this design will be 19". On my board, that makes the shortest strand about 16," which is a standard choker length.