413-3
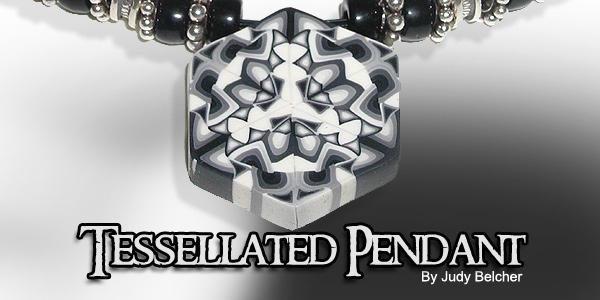
Tessellated Pendant
By: Judy Belcher
Kato Polyclay in these colors:
Black F14-2608BS
White F14-2606BS
Pasta machine F14-3166TL
Polymer clay blade F14-3141TL
Stainless steel choker F14-7509JW
4 Large hole sterling silver braided-side beads F14-7493FD
4 Large hole sterling silver corrugated beads F14-1669MB
Crow beads, opaque black F14-1888GB
Dedicated baking sheet
Instructions
As with all polymer clay, condition the clay thoroughly by rolling it
through the pasta machine or kneading it by hand until soft and pliable.
Form 2 Skinner Blend Jellyroll Canes
Step 1: Roll out two sheets of clay measuring 5” x 5”, one
black and one white, rolled on the thickest setting of the pasta machine.
Stack the sheets on top of each other.
Step 2: Cut the stacked sheets in half, diagonally, to form right-angle
triangles. Separate the resulting triangles and stack like colors on top
of each other.
Step 3: Join the diagonal edge, offsetting the triangles slightly so that
the corners do not exactly meet. Trim the tips that hang above and below
to reform the sheet into a square. You must do this if you wish to have
areas of the graded-color clay sheet that are the two colors you began
with. If the colors meet exactly, you will have a sheet that is entirely
graded.
Step 4: Roll the sheets through the pasta machine. Fold the two-color
sheet in half, matching same color edge on same color edge. Place the
fold against the rollers of the pasta machine and roll through the pasta
machine. Placing the folded edge against the pasta machine roller insures
that you don’t trap air into the blend. Fold and roll through again.
Repeat until the sheet is fully blended and there are no streaks.
Step 5: Cut this sheet half lengthwise, so that each section includes
a full blend.
Step 6: Roll one half, beginning with the white end, into a jellyroll.
Note the distinct lines made from the blend. This cane will be 2”
long. This will be called cane #1
Step 7: Roll the other half, beginning with the black end, into a jellyroll.
This 2” long cane will be called cane #2
Step 8: Cut ¾” from each of the above canes. Set aside the
remaining 1 ¼” long canes.
Step 9: Reduce each of the ¾” long canes by rolling and stretching
until they are 3 ¾” long. Pinch each of the canes into a
triangle shape, using your index fingers to pinch the point and the work
surface to flatten each of the edges. These will be called canes #3 and
#4.
Step 10: Cut each of the 3 ¾” long triangle canes into 3
– 1 ¼” long pieces.
Step 11: Roll out a snake of white clay 6 ¼” and ¼”
in diameter. As above, pinch the snake into a triangle shape. This will
be called Cane #5. Cut this cane into 5 – 1 ¼” long
pieces.
Step 12: Cut cane #1 and #2 in half lengthwise.
Step 13: Recombine each of the components filling in, where necessary,
with the white snake triangles. Keep in mind that the resulting cane should
be approximately an equilateral (the same length on all sides) triangle.
Step 14: Compress the cane to squeeze out any air pockets that may have
formed. Pinch each edge that you determine as a corner and press against
the table to form the opposite flat side. As you reduce, continue pinching,
pressing and gently pulling the cane.
Step 15: Reduce the cane to a length of 10”.
Step 16: Cut the cane into three equal lengths and recombine mirroring
each side to form one half of a hexagon. This is a great place to use
a mirror to check and see what the final cane will look like. There are
several variations that can be formed just by switching the sides of the
triangles that meet to form the hexagon.
Step 17: When you have a cane you are pleased with, cut the half-hexagon
cane in half, then place the two halves together to form the full cane.
Step 18: Cut a slice from the cane for the pendant.
Step 19: Pierce the pendant top with a needle tool.
Step 20: Bake the pendant for 20 minutes at 275
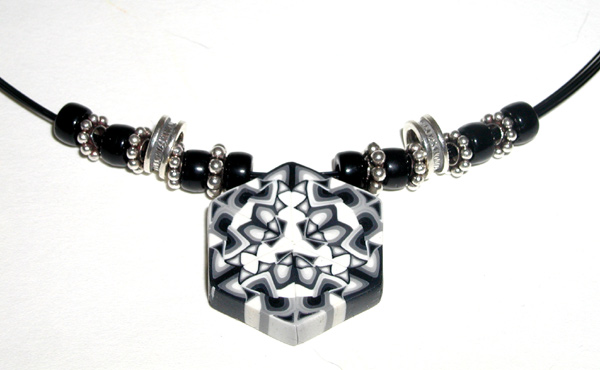
Step 21: Allow the piece to cool. String on the choker with black glass
beads and sterling spacer beads.
| Project Images | |
 |
|