
504-3
Color up your Wire!
By Tamara L. Honaman
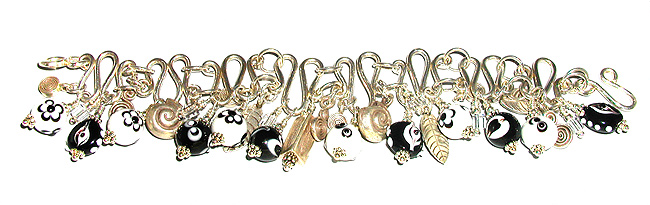
Create a base bracelet using heavy gauge wire and, if you want, add beads for color and drama. Create one or two more base bracelets to take your bracelet to a choker or necklace. Mix up the combinations for lots of extra fun.
Material needed
30” dead-soft 14-gauge sterling silver wire F14-1019WR
17 sterling silver jump rings, 8mm F14-2045FD
2 sterling silver jump rings, 5.8mm F14-2012FD
Black & white glass beads w/flower, 10mm F14-1031DG
Black & white glass beads w/heart, 10mm F14-1033DG
Black & white glass beads w/eye, 11x10mm F14-1034DG
Black & white glass beads w/dots, 10mm F14-1037DG
Sterling silver round beads, 3mm F14-4010MB
Sterling silver swirl pendant F14-8110FN
Sterling silver spiral drop, 10x6mm F14-4031FD
4mm rondelle F14-7024MB
Austrian crystal clear cube bead, 4x4mm F14-8821GB
Sterling silver headpin with 2mm ball end F14-4478FD
Sterling silver leaf pendant, 22x10mm F14-3069JW
Wire cutters
Round-nose pliers
Chain-nose pliers
Flat-nose pliers
Hammer
Steel bench block
Instructions
1. Cut 3” of wire.
2. Hold the wire on the steel bench block. Hammer the last ¼”
of one end of the wire. Repeat for the other end.
3. Grip one hammered end with the tip of the round-nose pliers. Rotate
your wrist to form a simple loop. Repeat on the other end of the wire,
so each has a loop facing the same direction.
4. Place the center of the wire into the round-nose pliers, where the
barrels are the largest.
5. Bend the wire upward (in half) until the 2 loops meet – you should
have a U in the center of the wire.
6. Place the center of the round-nose pliers 1/4-1/2” below the
loop on one end of the wire. Rotate your wrist so the wire bends down
toward the U. Repeat for the other half of the wire. The link you created
should resemble a W or M in shape.
7. Repeat to create 7 or 8 more links.
8. Cut a 1” length of 14-gauge wire. Hammer 1/4-1/2” of wire
on each end.
9. Grip one end of the wire about ¾ of the way down the barrels
of the round-nose pliers. Rotate your wrist away from you to create a
large loop.
10. Grip the other end of the wire with the tip of the round-nose pliers
and rotate your wrist away from you, creating a small loop, going in the
opposite direction from the first; set aside.
11. Cut a 2” length of 14-gauge wire. Hammer 1/4-1/2” of wire
on each end.
12. Grip the tip of the wire near the tips of the pliers; rotate your
wrist away from you to form a small loop.
13. About 1/2-3/4” above the loop you just created, grip the wire
in the widest part of the round-nose pliers, bend the wire over the barrel.
Grip the end of the wire near the tip of the round-nose pliers, and bend
the wire up to create a small decorative loop.
Hammer the curved portion if you like.
14. Open the large jump rings and begin looping links together. I find
the loops connect best when alternated in direction; M,W,M,W, etc.
15. Add one half of your clasp to the last link on one end. Repeat to
add the other half of your clasp to the other end.
16. You can stop here or add as many beaded dangles as you like.
To create a dangle:
17. Onto a headpin, thread a rondelle, black and white bead, rondelle
and 3mm round bead. Begin a wrapped loop. Before completing the loop,
pass the open loop onto one loop on one link of the bracelet. Complete
the loop and then wrap the wire for a secure finish.
Repeat, creating and attaching as many dangles as you like.
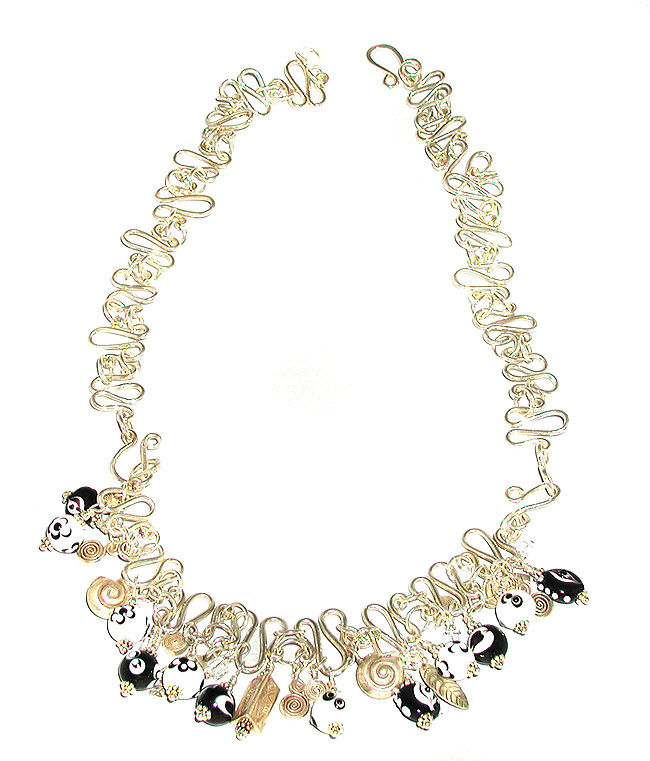
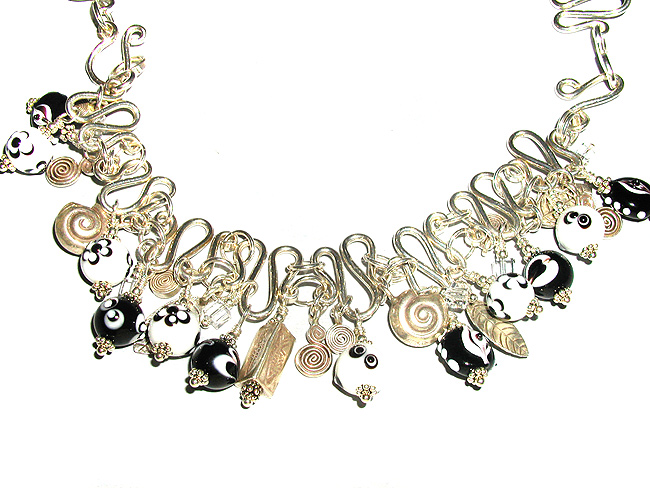
Create two more base bracelets. Link all of the bracelets together to
create a one-of a kind necklace; link one base bracelet to the bracelet
with dangles for a choker-style necklace and wear the other base as a
bracelet or wear all three as bracelets for a truly wired-out look!
| Project Images | |
|
|