
608-4
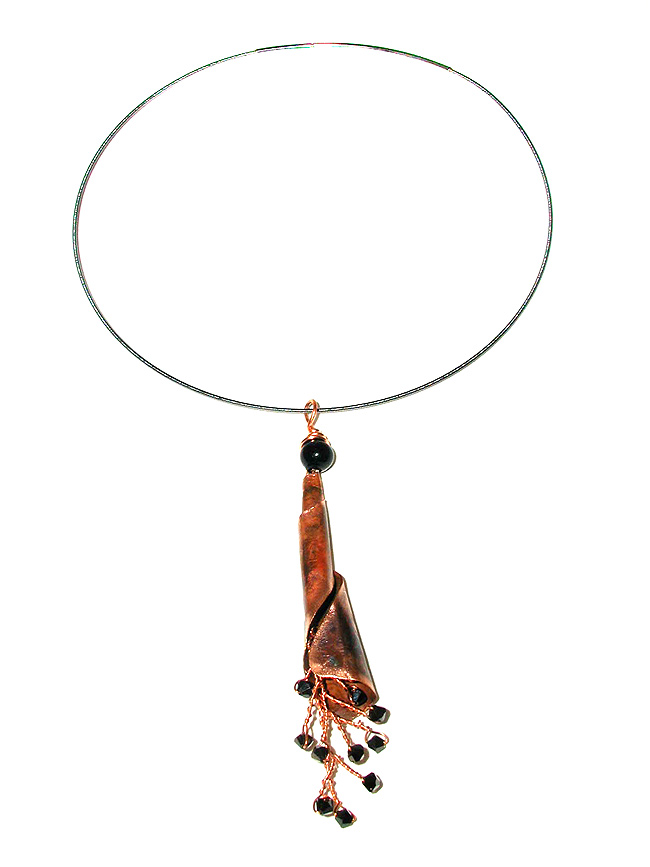
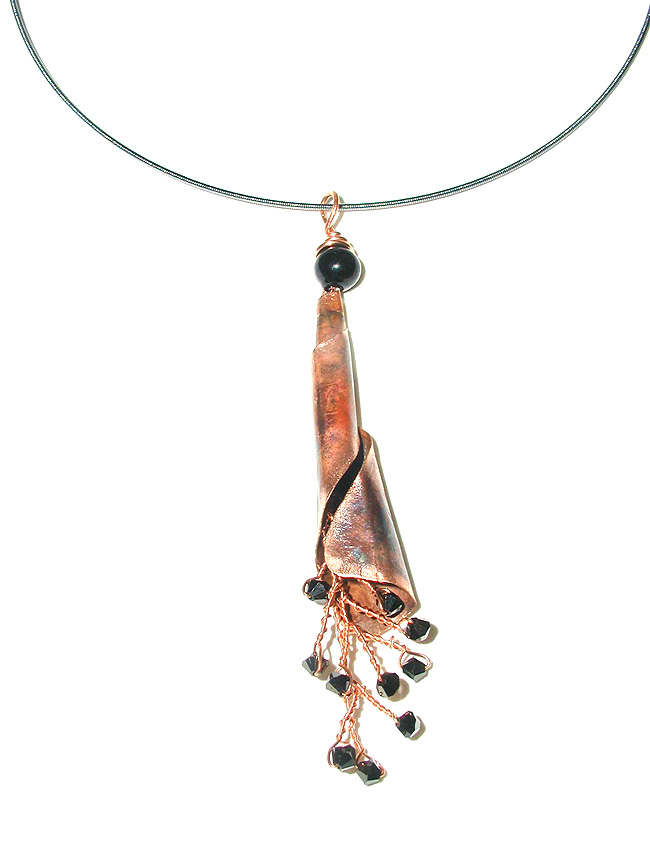
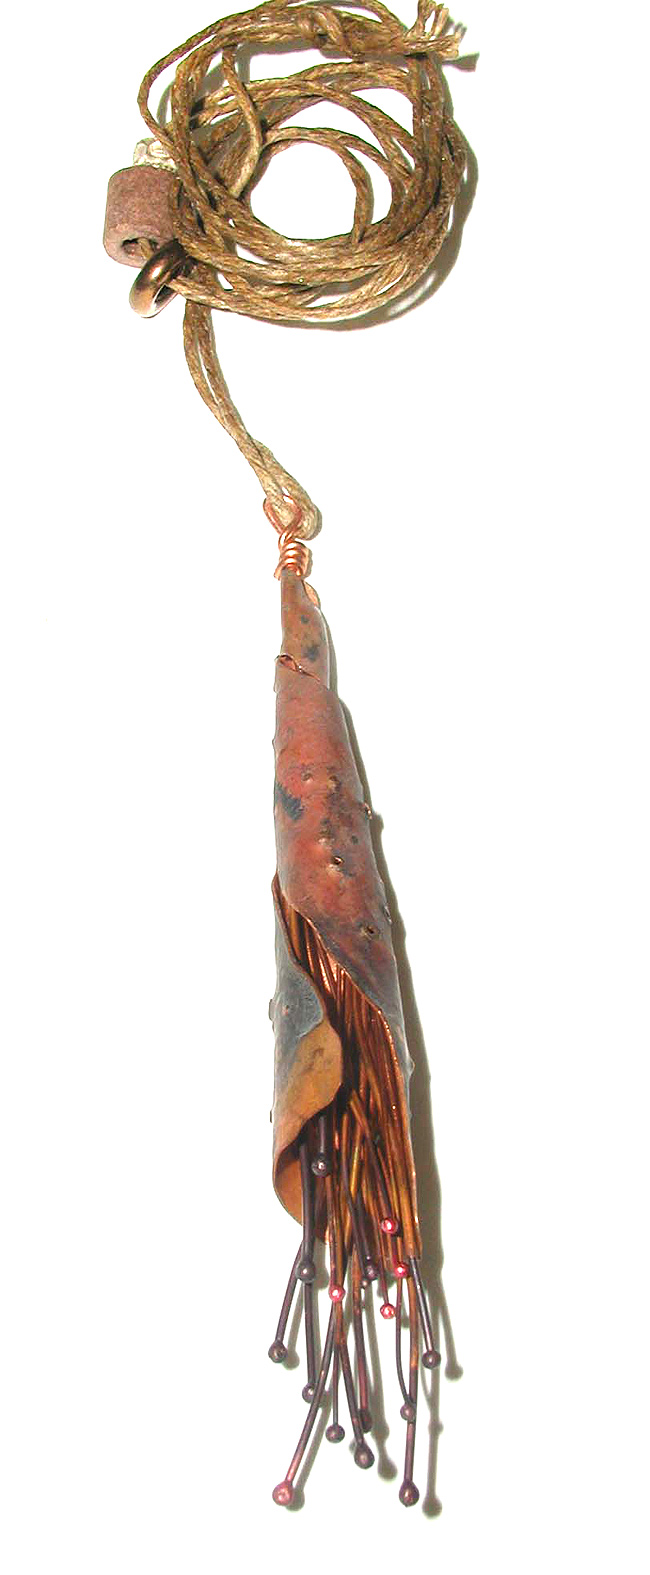
Copper Cone Necklace
By Mary Hettmansperger
Material needed
Copper sheeting – 18 gauge – about 1 inch on short side and
3 inches tall –
long cut triangle shape
18 gauge wire
20 or 22 gauge wire – 5 inches, 5-6 pieces
20 or 22 gauge wire – 6 inches long for hanger/connection
Beads for necklace
7 ply waxed linen for neck cord or silver chain or chocker
Tools
Beadalon® wire cutters
Propane torch
Safety glasses
Beadalon® needle nose pliers
Scissors or metal sheers
Hammer and anvil
Wood block
Burnishing tool
Old pliers
Always use safety glasses when working with heating tools and cutting metal.
Instructions:
1. Cut copper sheeting into a triangle shape with metal cutters. It should
measure 1 inch on the short side and 3 inches tall.
2. Use safety glasses. Apply heat to the copper sheet with the torch to
achieve color variations – to anneal and make more pliable –
quench with water.
3. Hammer edges and texture the copper triangle.
4. Make the cone by starting to roll the top of the triangle – gradually
keep rolling – leaving a slight opening all the way around the cone
as it spirals.
5. Cut 5 or 6 pieces of 20 gauge wire about 5 inches long. Burn balls
with the torch on the end of the wire Black – air dry – Red
– cold water quench.
6. Bend the pieces in half with the pliers.
7. Cut a 6 inch piece of 18 gauge wire – take the 20 gauge bent
pieces and thread them on to the 18 gauge wire. Secure them about 1/3
the length of the wire by a wrapped loop.
8. Thread the wire through the bottom of the cone – leaving the
ends of the 20 gauge wires out of the bottom. Beads can be added to the
wire before the wrapped loop is made. Make a wrapped loop with the wire
out of the top of the cone for the neck chain.
| Project Images | |
 |
|