613-3
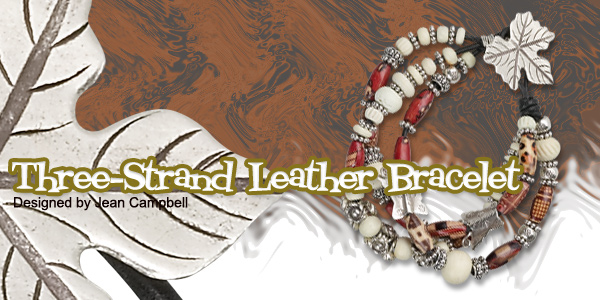
Three-Strand Leather Bracelet
Designed by Jean Campbell
Material needed
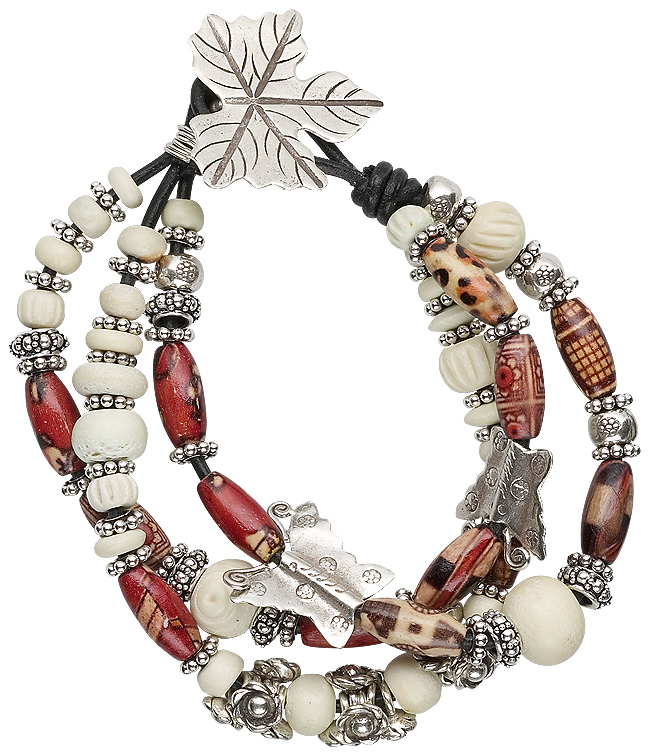
1 pkg Bone bead assortment (1 pkg/1/4 kg) F14-3500NB
1 pkg Artwood bead assortment, 15x7mm oval (1 pkg/100) F14-4186NB
4 pkg Sterling silver, 8x3mm rondelles (1 pkg/6) F14-5543MB
1 pkg Sterling silver, 7mm rondelles (1 pkg/15) F14-4103MB
2 pkg Hill Tribes silver, 7mm rounds (1 pkg/10) F14-4995MB
3 pkg Sterling silver, 7x8mm drum (1 pkg/4) F14-5533MB
15 pkg Hill Tribes Silver, 7x7mm twisted flower drop with ball ( 1 pkg/2)
F14-4025FD
2 pkg Hill Tribes silver, 19 x 18.5mm butterfly (1 pkg/2) F14-5121MB
1 Hill Tribes Silver, 37 x 26mm maple leaf drop F14-2191FD
1 pkg Leather cord, black, 2.0mm (1 pkg/5 yards) F14-1321BS
1 tube G-S Hypo fabric cement adhesive F14-3128TL
Tools
1 pair 3 ½ -inch scissors
1 set Bead reamer, diamond coated with case (1 set/3)
1 pair ergo pliers, 6-inch short flat nose
1 pair ergo cutter pliers, 5-inch diagonal round
1 Permanent marker, black
Instructions:
Step 1:
Cut one 30-inch and one 12-inch piece of leather.
Step 2:
Fold the 30-inch piece of leather so that one length is five-inches longer
than the other.
Step 3:
Use the five-inch length to tie a slide knot with a one-inch loop.
Step 4:
Loosen the slide knot and push the end of the 12-inch piece of leather
into the center of the knot. Tighten the knot and check the loop for size.
It should fit snugly around the leaf button. Squeeze a small drop of glue
inside the knot and let dry.
Step 5:
Trim the leather ends so they are flush with the top of the knot. (This
makes it easier to string the beads.)
Step 6:
Choose a design pattern for each of the three leather strands and string
on beads, leaving a one-inch space from your desired length. All three
strands should be strung evenly. (Note: You may need to use a reamer
to widen the bead holes so they slide easily onto the leather. Use pliers
to pull the leather through the beads.)
Step 7:
Pass all of the leather ends through the leaf button loop.
Step 8:
Double check the bracelet for size.
Step 9:
Fold the leather back onto itself and coil the silver wire around the
leather strands, tucking the ends into the leather and applying pressure
with the pliers to secure. Place a small bit of glue underneath the wire
coil. Let dry.
Step 10: Trim any excess leather. (Note: Use a black permanent marker
to color the leather ends if necessary.)
| Project Images | |
 |
|