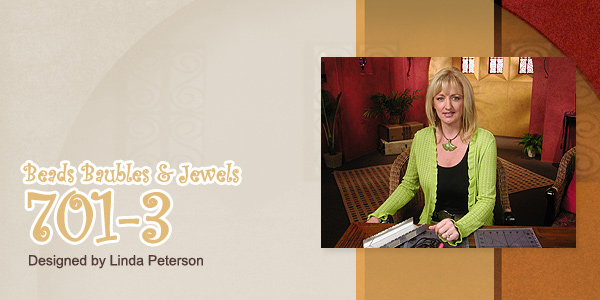
701-3
Designed by Linda Peterson
Sponsor: American Art Clay Company (AMACO®)
For more information visit
Materials needed
- Tube Bead Roller
- Bead Baking Rack
- Polymer clay oven
- Polyblade
- Polymer clay: Light tan color (this project used Sahara), Translucent
- Circle Cutter approximately 2” in diameter and 1” diameter
- Rubber stamp with image of choice
- Burnt Umber acrylic paint.
- Leather cording
- Paint brush
- Clay tile or other work surface
Instructions
Condition sahara clay thru the pasta machine and roll out on the thickest setting. Fold over for a double thickness and cut out circle. Set aside.
Simulated Bone: Flatten sahara and translucent clay to a medium thickness on the pasta machine and stack. Roll this stack back through the pasta machine, cut in half and stack. Repeat this stack two more times. Cut into ¾” sections and stack each section on top of the other creating a stack that is approximately ¾ to 1” tall. You will notice many faint lines in this stack.
Take a 1/8” thick slice of this stack and roll thru the pasta machine beginning with the thickest setting, gradually setting the machine thinner until you have reached the thinnest setting.
Flatten translucent to the thickest setting on the pasta machine. Lay a slice of the striped cane over the translucent and trim. Apply next sheet directly by its side to complete the veneer. Cut out smaller circle. Create texture with stamp. Create a small hole in both circles. Bake in oven according to manufacturer’s instruction.
Make a log 3/8” in diameter and 1” long. Wrap with translucent clay and form bone shape. Poke hole in top.
Create a log from tan clay. Press toothpick into center of bead. Place the tube bead roller on top of the log and gently roll back and forth until the feet touch. Cut beads into desired lengths and string onto piercing pins and bake in oven.
Bake all remaining beads in oven according to manufacturer’s instructions.
When cool paint brown paint onto beads, leaving the clay color poking thru. It is okay to leave brush strokes as this adds to the effect.
Antique the center texture disk.
Measure leather cording to desired size and double that measurement to allow for knotting. String beads on multiple cords and knot together as desired.
Add center focal piece with jump ring.
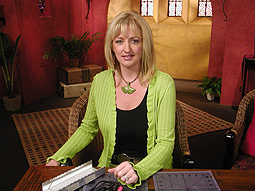
Linda Peterson
| Project Images | |