702-3
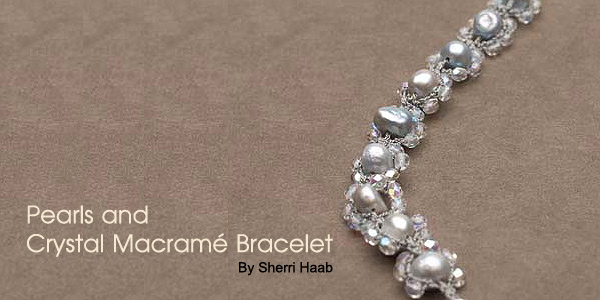
Pearls and Crystal Macramé Bracelet
By Sherri Haab
Sponsor: Shipwreck Beads
Knots used:
- Overhand knot
- Square knots
- Vertical Lark’s head
Material needed
6 yards silk bead cord size 2 (3 carded cords with needles attached)
About 15 pearls (7-8mm)
1 flexible wire bead needles
One strand of AB clear crystal beads (3mm)
2 barrel shaped silver beads with large holes
Silver loop and toggle finding for clasp
Fabric glue or hem sealant
Instructions:
1. Unwind the silk cord from the card and dampen with water to release
the creases in the cord; pat dry. Cut the cord into 3 lengths (2 yard
each). Thread the 3 strands through the silver loop finding, pulling until
the strands are even and the finding is at the mid-point of the strands.
This will give you 6 strands of cord attached to the finding. Tie an overhand
knot with all six strands of cord at the base of the finding.
2. Add a silver bead over all six strands and slide it up to cover the
knot.
3. Pin the finding to a board before you begin to macramé, or use
office clips on a sturdy board. Before beginning to knot, separate the
cords by pulling 2 cords down the middle. Pull two cords out to each side.
Make sure you have at least one needle cord for each side. Tie 2 complete
square knots with both sets of cords on each side around the 2 center
cords.
4. Add a pearl to the two center core cords, using a wire bead needle
to aid stringing. Slide the pearl up to the base of the square knots.
(Use a pearl reamer to make the holes bigger in the pearls as needed).
5. To add the crystal beads to the side of the pearl, start with the left
2 cords. Add a crystal bead to the working cord (the cord with the needle)
and slide it up close to the square knots. Bring the working cord around
the filler cord and tie a lark’s head knot under the bead.
6. Add two more beads in the same manner for a total of 3; tying a lark’s
head knot with the working cord under each bead to secure.
7. Repeat the same with the two cords on the right side of the pearl.
Check to make sure the beads will fit around the sides of the pearl. Pearls
vary in size, if your pearls are large, you may want to add an extra crystal
bead to each side to make the design work. This completes the pattern
to be used for the rest of the bracelet.
8. Repeat the pattern by tying two square knots with the double cords
from both sides as you did in step three.
9. Measure the bracelet to fit your wrist as you work, and finish the
pattern with two square knots (you may want to add a few extra square
knots for a perfect fit). Slide a silver bead over all 6 cords, sliding
it over some of the square knots temporarily. Slide the bar toggle over
all of cords.
10. Tie a lark’s head knot with all six cords to attach the clasp.
Pull tight.
11. Clip of the ends of the cord next to the knot and apply hem sealant
or glue to secure the knot. Slide the silver bead over to conceal the
knot before the glue dries.
Suppliers and Sources:
Designer: Sherri Haab, author and craft designer
www.sherrihaab.com
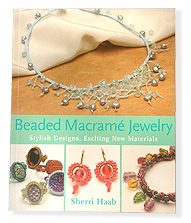
Book: Beaded Macramé Jewelry, c. 2006 Watson Guptill
Publications
www.wgpub.com

Sherri Haab
| Project Images | |
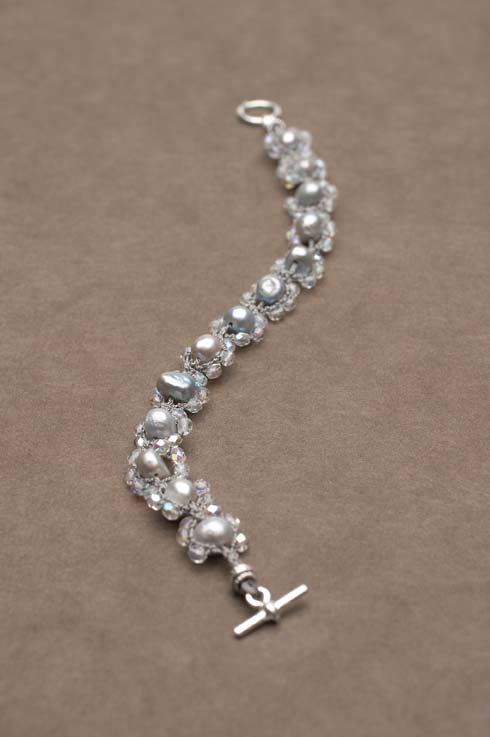 Photo: Sherri Haab, "Beaded Macrame Jewelry, © Sherri Haab, Watson Guptill Publications 2006" |
|