707-3
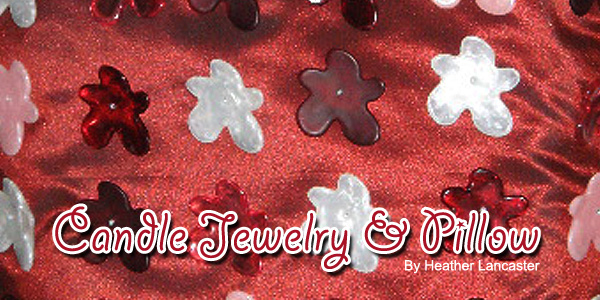
Candle Jewelry & Pillow
By Heather Lancaster
Sponsor: Provo Craft and Novelty, Inc.
Material needed
'Not Your Common Beads' by Provo Craft 21-0380 Flower/Red
'Not Your Common Beads' by Provo Craft 21-0381 Flower/Pink
Crystal or White Seed Beads
Bead Thread
18 Gauge Silver Wire
Candle
Pillow Case
Pliers
Pillow Instructions:
1. Using a ruler and a fabric pen, mark the placement of each flower.
On this sample we put one flower approximately every two inches.
2. Starting on the inside of the pillowcase, pull threaded needle up,
through the first marked spot, through a flower bead, through a seed
bead and then back down through the flower and into the inside of the
pillowcase. continue on repeating this easy process until your project
is complete. Be sure to use a bead thread or even fishing line to
attach your beads so that your finished project is strong and secure!
Candle Jewelry Instructions:
1. Measure the diameter of your candle and compare it to the length of
the bracelet or choker that you'd like to create. This 4" pillar
candle
was the perfect diameter to create a choker on.
2. Thread beads onto a coil of 18 gauge silver wire. Put the beads on
in a pattern so that you have variety and different colors sitting
beside each other. The order that you put them on is the order that
they will be on your finished project.
3. Wrap, loop and twist the wire onto a ruler for the desired length of
your project. Try to create lots of visual interest as you place the
beads on and lightly secure them in place with the twists and loops you
create.
4. Once the desired length is reached, gently push your project up and
off of the ruler so that the last end you worked on and the wire coil
are off of the ruler. Now carefully loop and twist the wire coil,
doubling back onto the beaded project. This additional layer of wire
will further securing all of the beads that you've placed. Try not to
pull too hard on your project or twist it out of shape as you continue
to pull more of the beaded design off of the ruler and double back with
the wire.
5. Once you've reached the start of your project, cut the wire from the
coil and secure it to the end of the design. Create a hook and closure
using additional lengths of twisted wire.
6. If your finished project is smaller than the candle that you have
purchased, (for instance if you've made a bracelet and it doesn't fit
all the way around the candle), thread a piece of ribbon though the
jewelry to extend it's length and tie it around the candle.

Heather Lancaster
| Project Images | |
 |
|