
708-3
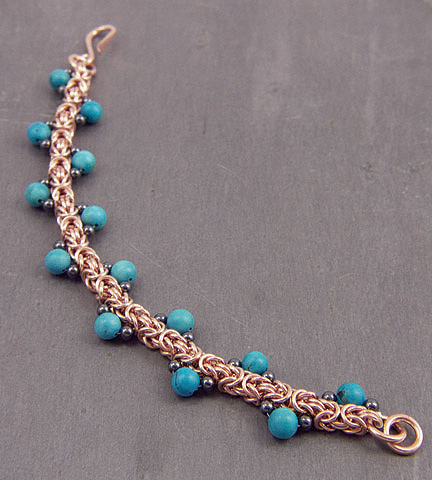
Zigzag Beaded Byzantine Design
Designed by Scott David Plumlee
Sponsor: Shipwreck Beads
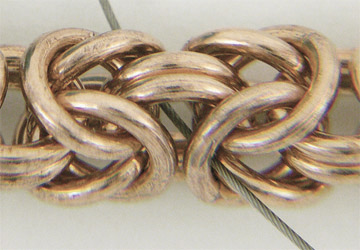
The Zigzag design is simply a bead embellishment to the outside of the
Byzantine chain. It is accomplished by attaching a length of beading wire
to the end connector pair and securing it in place with a crimp bead.
A wire is then weaved through the length of the chain as the beads are
added. By using two sizes of beads, 3- and 6mm, the wire is able to flow
through the chain without kinking and binding the chain’s overall
flexibility. The beads lie on opposite sides of the chain, creating a
wide and flat finished chain.
To assemble the Byzantine chain you will need 170 x 18-gauge jump rings
with 3.5mm ID, 3 x 14-gauge jump rings with 5.5mm ID, plus a forged s-clasp.
To set the 8-inch bracelet, you will need 14 x 6mm beads, 28 x 3mm beads,
2 x crimp tubes, beading wire; 2 x chain-nose pliers, and side cutters.
For Byzantine chain tutorial, go to: www.davidchain.com/byz_tut1.html
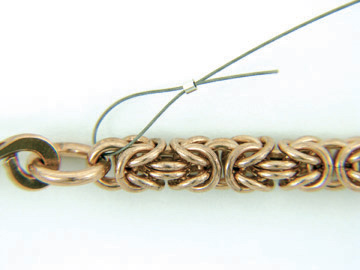
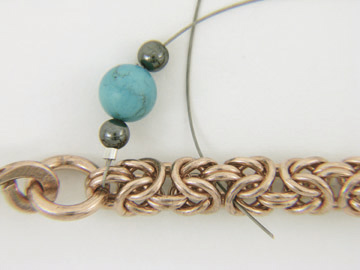
1. Cut a length of beading wire that is twice the length of the chain.
Run one end of the beading wire through the end connector pair. Position
the beading wire so that one end is an inch or two in length. Add a crimp
bead over both ends of the wire.
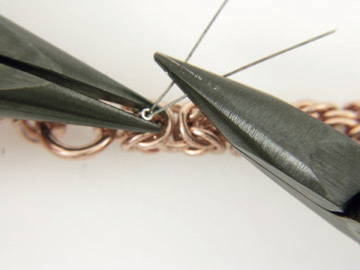
2. Hold both of the beading wire with a pair of chain-nose pliers. Push
the crimp bead towards the connector pair with a second pair of chain-nose
pliers. Smash the crimp bead as close to the chain as possible.
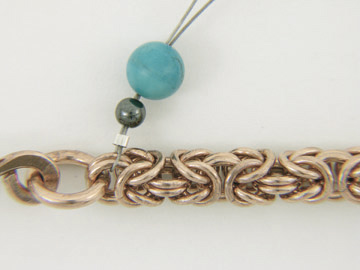
3. Add one 3mm bead and one 6mm bead on both wires.
4. Cut off the shorter length of one beading wire –not both-just past the second bead with side cutters. Note: This extra length of beading wire through the first two beads allows for the wire to stretch without pulling off the crimp bead.
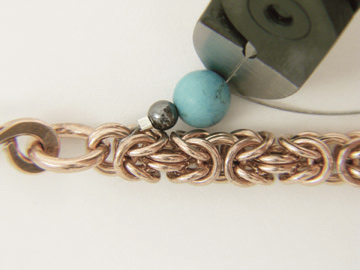
5. Add the second 3mm bead and push the end of the beading wire through
the chain’s third connector pair.
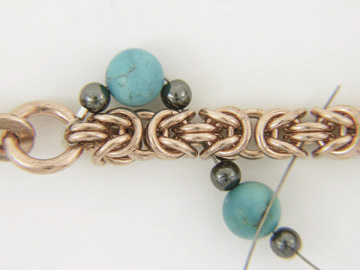
6. Add a 3mm bead, one 6mm bead, and a second 3mm bead to the beading wire. Run the wire’s tip back through the chain’s fifth connector pair. Continue adding the three beads, alternating back and forth in a zigzag sequence.
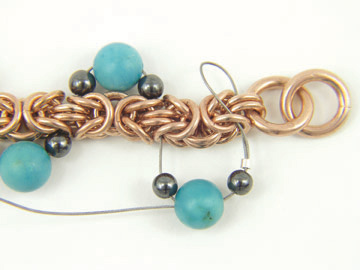
7. After adding the last bead sequence, add a crimp bead. Run the end of the beading wire through the end connector pair and looping it back through the crimp bead, and the 3- and 6mm beads.
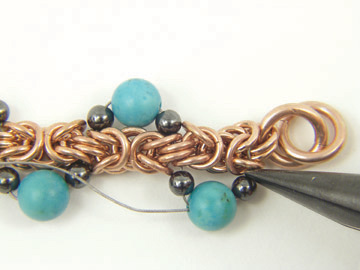
8. Pull the beading wire taut, taking care not to pull the wire too tightly, which will restrict the chain’s overall flexibility. After the chain’s flexibility has been checked and all the beads are sung against the chain, smash the crump bead with chain-nose pliers to secure the beads. Snip off the excess beading wire just inside the last 6mm bead. Be extra careful at this point to cut off only the excess wire and not the main wire holding the beads.
Text and Images Copyright © 2006 Scott David Plumlee, published by
Watson-Guptill Publications in Handcrafting Chain and Bead Jewelry; all
rights reserved. Reprinting of this tutorial is intended for promotion
on specific websites with the permission of both Scott David Plumlee and
Watson-Guptill Publications. Contact Scott at: sdp@davidchain.com
and Andrea Glickson (WG) at: aglickson@wgpub.com


Scott David Plumlee
| Project Images | |
 |
|