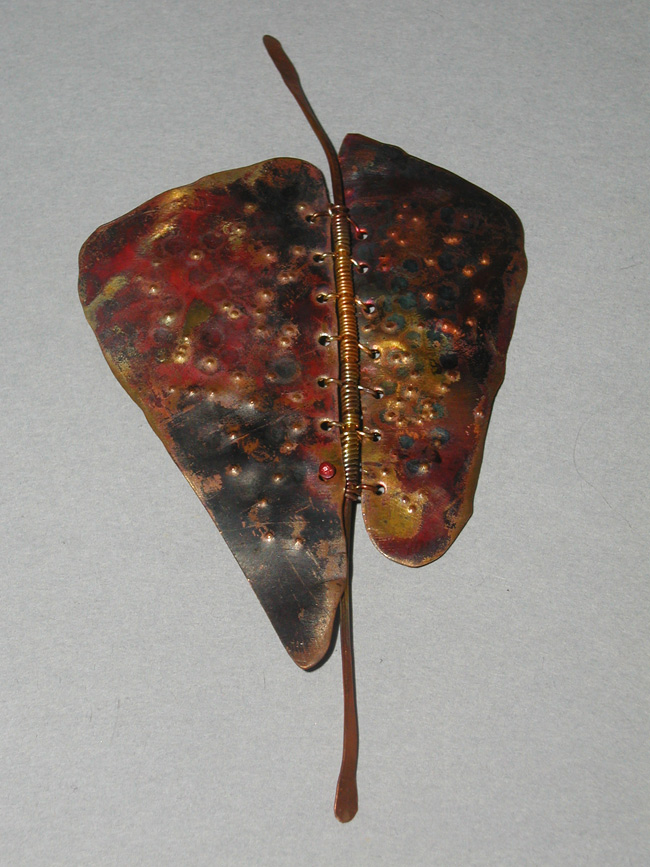
1. Heat the piece of copper to anneal it and make soft. Cut the square or other desired shape with metal scissors. Divide it again by cutting with scissors. Hammer the squares to make the surface smooth and the edges to create a deckled effect. Texture, stamp, and apply desired surface to the pieces of copper.
2. On the front side of the piece, treat it with liver of sulfur to darken the entire surface black. The copper can also be reheated in the propane torch to achieve color and make the copper soft to work with. Use an awl and hammer on the opposite side texture the pieces.
3. Using a brass brush or bench polisher brush the front surface to expose the bumps made by the awl. Expose the silver on the edges by brushing away the black.
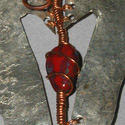
4. Measure and cut one18 gauge wire at least 5 to 6 inches to fit in between the 2 metal shapes. Forge one of the ends or burn the end in the flame to make a paddle or create a ball. If adding a focal beads thread it on before you begin the stitching.
5. Punch holes (7 to 9) on either side of the connection area – directly across from each other on each piece approximately ¼ of an inch apart and 1/8 th of an inch from the edge.
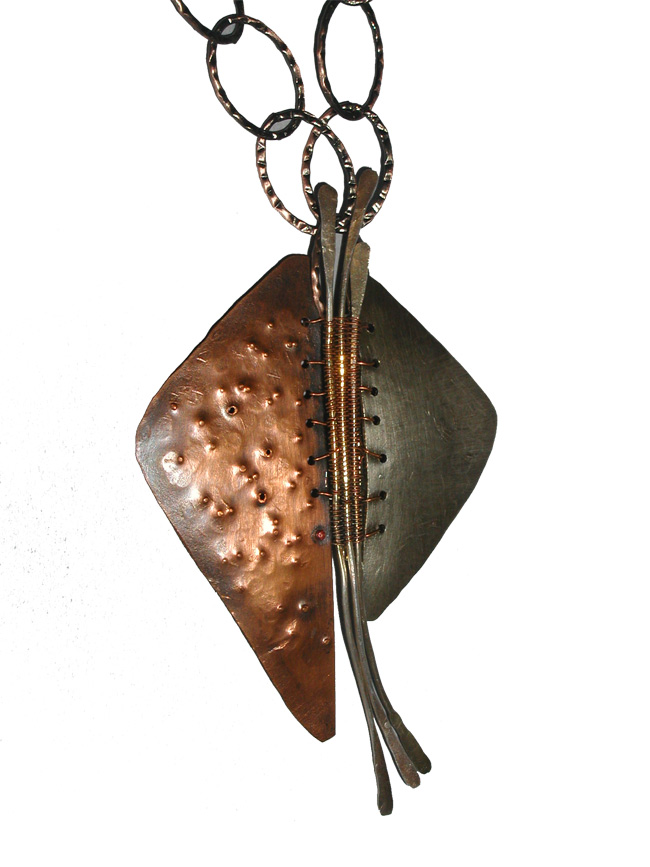
6. Take the 24 gauge wire and burn one end to create a ball. Start the stitching process by threading the wire from the back side to the front on one of the end holes.
7. Proceed to stitch the two pieces together by 1st looping around the middle wire piece one time and then stitching to the other piece of silver also in its end hole. Then take the wire continue by wrapping the thin, 24 gauge silver wire tight and even around the 18 gauge wire until you have reached another set of holes to stitch in to. When you reach the 2nd set of holes directly across from one another, stitch into each one. Make sure that you connect with a loop from the center 18 gauge wire piece. Continue this same process until you reach the last holes in the row. Do not cut or end the 24 gauge wire piece.
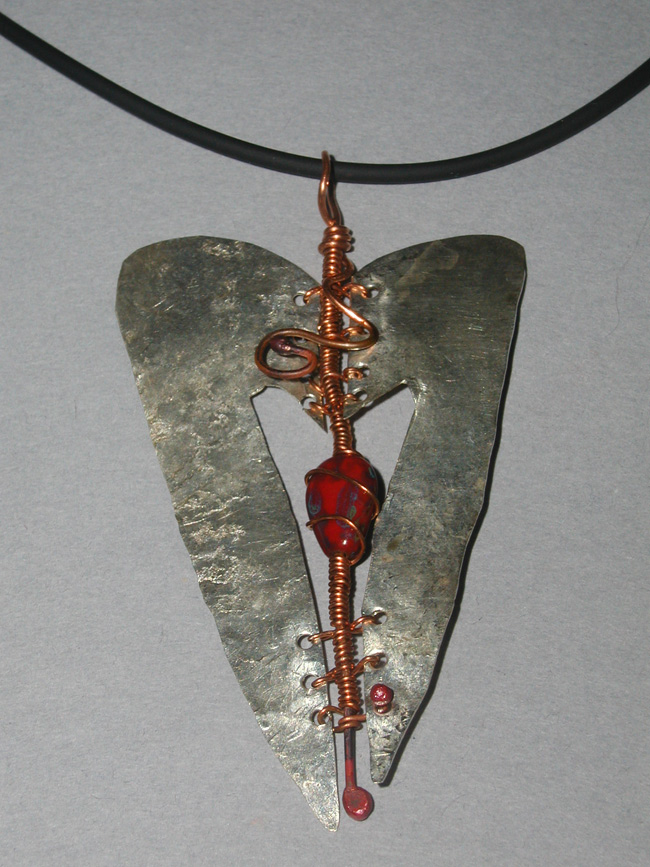
8. If a focal bead is on the piece, wrap the 24 gauge wire around the heavier gauge till you reach the focal bead. Thread the small gauge wire through the bead, then wrap the other side till you reach the holes again and resume the stitching.
9. Cut the top of the wire and hammer or ball it also. Attach the bar clasp by threading the same wire you used to stitch up the back side under the stitching. Stitch the bar clasp on by sewing in and out of the holes on the clasp. End the piece of wire by tucking the end securely into the stitching and cut close to avoid a sharp end. If making a necklace, use the long end of the heavy gauge wire that is left and make a wrapped loop to hold a neck chain.
10. Many variations can be made on this simple idea. Incorporate other material into this style of pin or next time make, it as a necklace, patina it differently, or stitch more than 2 pieces together and continue to play with shapes and beads. This design has many possibilities.